Brownies With Sourdough Starter
Uitgelicht onder: Bakfavorieten
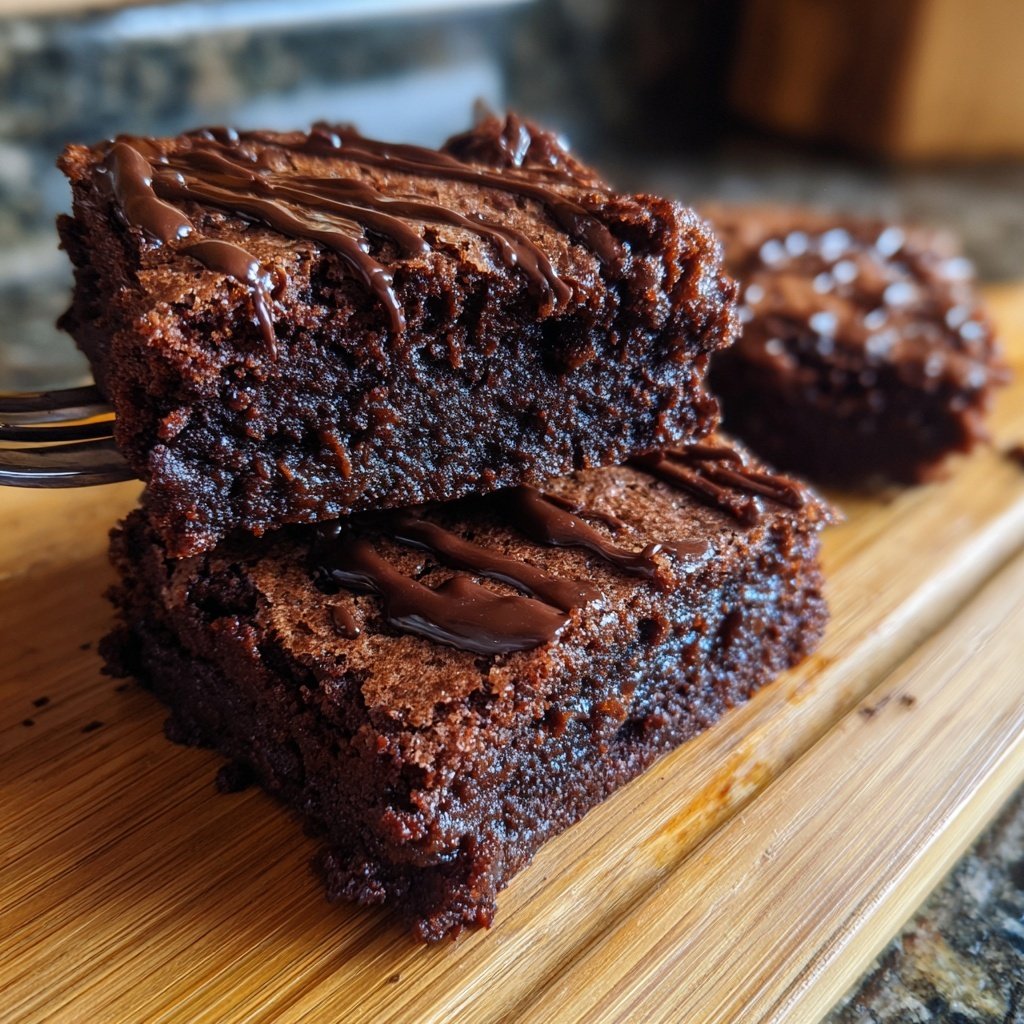
I recently decided to bake brownies using my sourdough starter, and the results were absolutely divine! Blending the tangy flavor of the sourdough with rich chocolate created a unique twist that I never knew I was missing. The sourdough adds moisture and depth, making these brownies incredibly fudgy. I believe this method not only utilizes leftover starter but also elevates a classic treat into something extraordinary that you’ll want to make again and again.
Baking these brownies with sourdough starter was a delightful experiment that I truly enjoyed. The initial preparation felt intuitive, especially as I combined the wet and dry ingredients. The key was to ensure everything was well-mixed but not overworked. The sourdough contributed a subtle tang that balanced the sweetness of the chocolate perfectly.
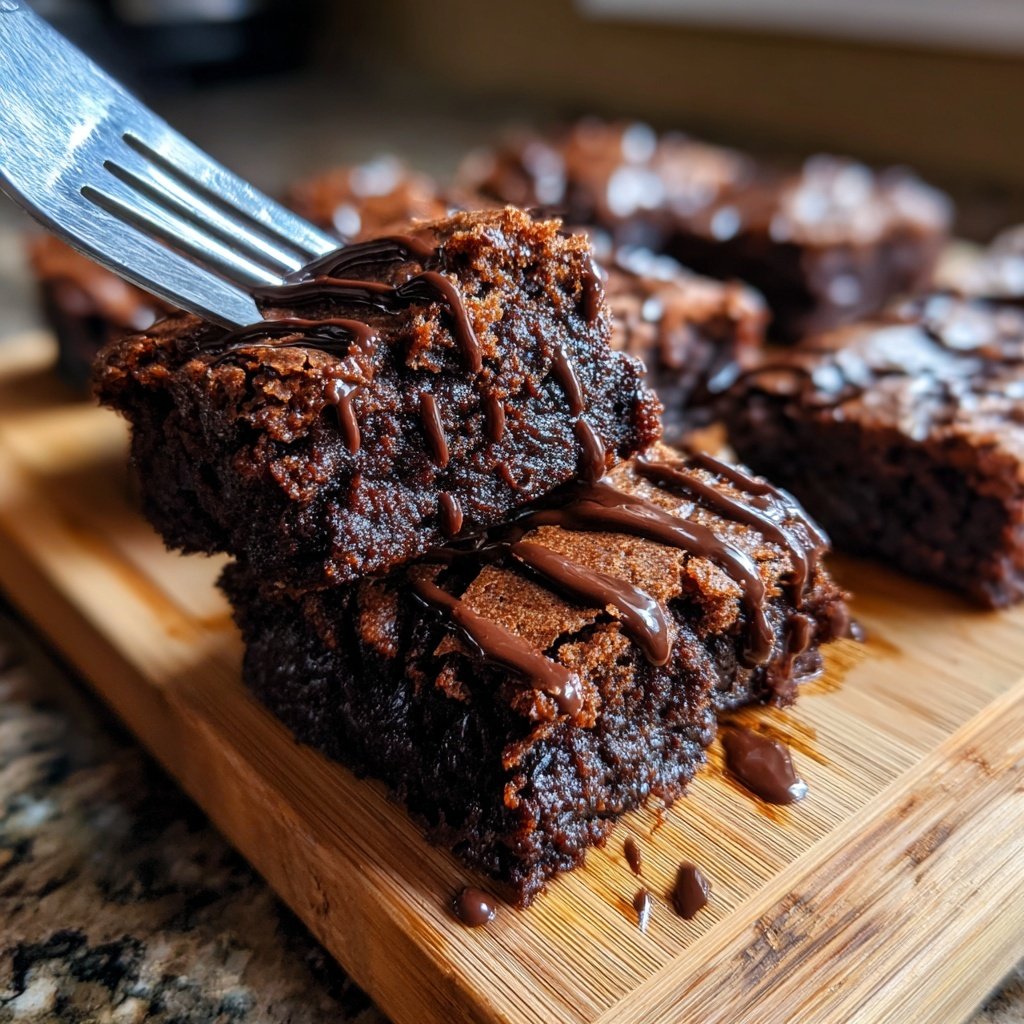
As I pulled the brownies from the oven, the aroma filled my kitchen, and I couldn’t wait to taste a piece. Allowing them to cool slightly enhanced their fudgy texture, and the first bite was heavenly! I recommend trying this method for an unexpected yet delicious twist on traditional brownies.
Why You'll Love This Recipe
- Rich chocolate flavor paired with the unique tang of sourdough
- Incredibly fudgy texture that melts in your mouth
- Great way to use up leftover sourdough starter
The Role of Sourdough in Brownies
Incorporating a sourdough starter into brownies not only enhances the flavor profile but also contributes to a unique texture. The natural acidity in sourdough enhances the chocolate's richness, creating a delightful complexity you might not expect. It balances the sweetness from the sugar, making each bite taste deeper and more satisfying. The fermentation process also aids in breaking down sugars, making the brownies taste even more rich and indulgent.
Additionally, the moisture from the sourdough starter is key to achieving that fudgy texture. Unlike traditional recipes that might use extra butter or oil, the sourdough provides both hydration and depth without adding grease, allowing the chocolate flavor to shine. This moisture ensures that your brownies will be soft and chewy rather than dry or cake-like.
Perfecting Your Baking Technique
When mixing your wet and dry ingredients, take care not to overmix the batter. Overmixing can lead to a denser brownie, whereas a gentle fold preserves the air pockets created during whipping, helping them rise slightly in the oven. Aim for a batter that has a few flour streaks remaining; it will continue to combine in the baking pan without becoming tough.
For a great visual cue, look for the brownies to develop a shiny, slightly cracked surface as they bake. This shiny crust is a good indicator that they’ve cooked just right. Using a toothpick to check for doneness? Aim for moist crumbs rather than a clean pick; this guarantees your brownies stay fudgy and melt-in-your-mouth soft. If they seem too gooey, bake for an additional 2-3 minutes, keeping a close eye to avoid overbaking.
Ingrediënten
Gather your ingredients before starting!
Ingredients
- 1 cup (200g) granulated sugar
- 1/2 cup (100g) brown sugar, packed
- 1/2 cup (115g) unsalted butter, melted
- 1 cup (240g) sourdough starter, fed or unfed
- 2 large eggs
- 1 teaspoon vanilla extract
- 1 cup (130g) all-purpose flour
- 1/3 cup (30g) unsweetened cocoa powder
- 1/2 teaspoon salt
- 1/2 teaspoon baking powder
- 1 cup (175g) chocolate chips
Make sure to preheat your oven before starting the steps!
Bereidingswijze
Follow these steps for perfect brownies!
Preheat the Oven
Preheat your oven to 350°F (175°C) and grease a 9x9-inch baking pan.
Mix Wet Ingredients
In a large bowl, combine granulated sugar, brown sugar, and melted butter. Whisk until well mixed.
Add Sourdough
Add the sourdough starter, eggs, and vanilla extract. Mix until smooth.
Combine Dry Ingredients
In a separate bowl, sift together flour, cocoa powder, salt, and baking powder.
Combine Mixtures
Gradually fold the dry mixture into the wet mixture until just combined. Do not overmix.
Add Chocolate Chips
Fold in the chocolate chips, ensuring even distribution throughout the batter.
Bake
Pour the batter into the prepared baking pan and smooth the top. Bake for 25 minutes, or until a toothpick comes out with a few moist crumbs.
Cool and Serve
Let the brownies cool in the pan before cutting them into squares. Enjoy your delicious brownies!
Serve your brownies with ice cream for an extra treat!
Professionele Tips
- For an even richer flavor, consider adding chopped nuts or swirling in some peanut butter before baking. Keep an eye on the baking time, as all ovens vary slightly.
Storing and Serving Suggestions
Once your brownies have cooled, store them in an airtight container at room temperature for up to five days. For longer storage, consider freezing them. Cut them into squares, wrap each piece tightly in plastic wrap, and place them in an airtight freezer bag. They can be frozen for up to three months. When ready to enjoy, simply thaw them at room temperature or microwave for a few seconds to regain their fudgy texture.
When serving, try topping these brownies with a scoop of vanilla ice cream or a dollop of whipped cream for an extra indulgent treat. You can also sprinkle some sea salt on top before serving to enhance the chocolate flavor further. If you’re feeling adventurous, drizzle some caramel or chocolate sauce on top for a gourmet finish!
Potential Substitutions and Variations
If you're looking to modify this recipe, there are several easy substitutions. For a gluten-free option, use a gluten-free all-purpose flour blend that measures cup-for-cup like regular flour. Your brownies might not rise as much, but they will still taste amazing! Additionally, you can swap out chocolate chips for chopped nuts, dried fruit, or even different types of chocolate like white or dark chocolate for an alternative flavor profile.
To enhance the tang of the brownies even further, consider adding a tablespoon of espresso powder to the dry ingredients. This won’t make the brownies taste like coffee but will intensify the chocolate flavor immensely. Alternatively, for a zesty touch, add some orange zest to the batter to create a wonderful chocolate-orange combination that’s surprisingly pleasing.
Vragen Over Recepten
→ Can I use unfed sourdough starter?
Yes, you can use both fed and unfed sourdough starter in this recipe.
→ How should I store leftover brownies?
Store them in an airtight container at room temperature for up to 4 days or refrigerate for longer freshness.
→ Can I make these brownies gluten-free?
Substituting all-purpose flour with a gluten-free blend should work, but results may vary.
→ What's the best way to tell if the brownies are done?
Insert a toothpick into the center; a few moist crumbs should cling to it when they're done.
Brownies With Sourdough Starter
Gemaakt door: Isobel Fairfax
Recepttype: Bakfavorieten
Vaardigheidsniveau: Easy
Eindportie: 16 brownies
Wat je Nodig Hebt
Ingredients
- 1 cup (200g) granulated sugar
- 1/2 cup (100g) brown sugar, packed
- 1/2 cup (115g) unsalted butter, melted
- 1 cup (240g) sourdough starter, fed or unfed
- 2 large eggs
- 1 teaspoon vanilla extract
- 1 cup (130g) all-purpose flour
- 1/3 cup (30g) unsweetened cocoa powder
- 1/2 teaspoon salt
- 1/2 teaspoon baking powder
- 1 cup (175g) chocolate chips
Stappen
Preheat your oven to 350°F (175°C) and grease a 9x9-inch baking pan.
In a large bowl, combine granulated sugar, brown sugar, and melted butter. Whisk until well mixed.
Add the sourdough starter, eggs, and vanilla extract. Mix until smooth.
In a separate bowl, sift together flour, cocoa powder, salt, and baking powder.
Gradually fold the dry mixture into the wet mixture until just combined. Do not overmix.
Fold in the chocolate chips, ensuring even distribution throughout the batter.
Pour the batter into the prepared baking pan and smooth the top. Bake for 25 minutes, or until a toothpick comes out with a few moist crumbs.
Let the brownies cool in the pan before cutting them into squares. Enjoy your delicious brownies!
Extra Tips
- For an even richer flavor, consider adding chopped nuts or swirling in some peanut butter before baking. Keep an eye on the baking time, as all ovens vary slightly.
Voedingswaarde (Per Portie)
- Calories: 380 kcal
- Total Fat: 26g
- Saturated Fat: 15g
- Cholesterol: 195mg
- Sodium: 85mg
- Total Carbohydrates: 32g
- Dietary Fiber: 3g
- Sugars: 24g
- Protein: 6g